Word search puzzles offer more than just a fun way to pass the time. Puzzles and brain games generally have been found to enhance cognitive function, reduce stress and anxiety, boost mood and mental wellbeing, promote mindfulness and focus.
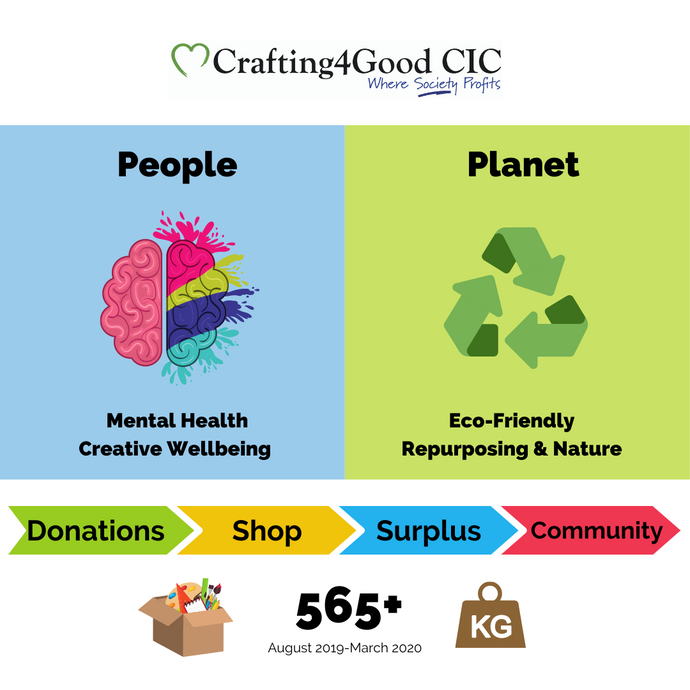
Crafting4Good CIC is a not-for-profit social enterprise supporting mental health and the environment - as well as our printable cards and crafts we have a real shop, and a new eBay shop, which sells donated art and craft supplies, with surplus going to community groups for free.
I have had my eye on this for a while and decided to buy the download. I printed out 4 pieces of card and two sheets of paper. I carefully cut it all out, it took a while. Assembled all the pieces and put the box together. The finished result is amazing. I’m really pleased with it.
Lovely card with plenty of embellishments, good price and I can use it over and over again so a real bargain and it is helping others at the same time.. Will buy more in the future
I have been checking this out on and off. The price was great and I loved making these cards. I made a few of each month this way I am ready for any birthday that comes up. Great product from a wonderful company.
Cari
Our Partners & Funders
Subscribe to our Newsletter
There's a lot going on - don't miss our updates
Use left/right arrows to navigate the slideshow or swipe left/right if using a mobile device
choosing a selection results in a full page refresh
press the space key then arrow keys to make a selection
Crafting4Good CIC is a not-for-profit Community Interest Company limited by guarantee, registered in England and Wales Company No.10690435. Registered office: 9 George Street, Normanton, WF6 2LT